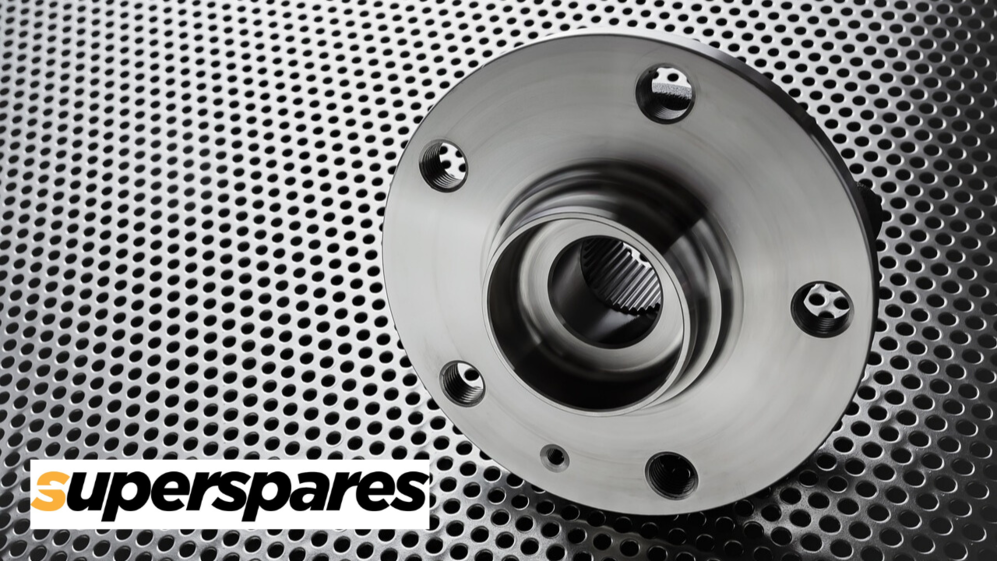
How to Install a Front Wheel Hub Bearing
Author: superspares

Wheel hub bearings are an essential automotive component and must be kept in perfect working order to insure drivability. The wheel hub bearings hold the wheels on to the axle and drive assembly, and allow them to spin properly. Most wheel hub bearings last for about 150,000 miles, at which time they will need to be replaced.
There are both front and rear wheel hub bearings, but it is usually the front wheel hub bearings that wear out first, since they receive more stress over their lifetime than the rear wheel hub bearings. When the time comes, there are some steps to take for removing and installing a front wheel hub bearing.
Steps to Installation
Following just a few steps will make front wheel hub maintenance easy.
Step 1
The first step is to park the vehicle on a flat and level surface. A paved or concrete surface would be best. Place the vehicle in gear or park and also apply the emergency or parking brake. Place a wheel chock behind the rear tires. If you do not have a wheel chock then find something that is hard like a brick, cinderblock, or thick piece of wood.
Step 2
Jack the front side of the car where you will be replacing the wheel hub bearing. Make sure that apply the jack to a stable area of the frame (usually along the frame rail). The vehicle's owner's manual will show you exactly where to apply the jack.
Step 3
Now it is time to remove the wheel hub bearing. Loosen all of the lug nuts on the wheel of the wheel hub bearing first before removing the lug nuts and wheel. Once the lug nuts are removed just remove the wheel. Locate the caliper bolts and then remove them using a ratchet and socket. These bolts are located behind the caliper.
Once the bolts are removed just pry the caliper off. Be gentle and is a flat prying tool such as a flat head screwdriver. Be sure to not let the caliper hit the brake hose either. Some vehicles have caliper bridge bolts for extra security. This is not on all vehicles, but if they are there they will have to be removed, as well. You may have to remove the brake pads, as well. This is not a requirement for all vehicles but is required for some in order to install a new wheel hub bearing.
Step 4
It is time to remove the brake rotor. This can sometimes be difficult to remove as it can get stuck. An easy tool to use is a rubber mallet. Just tap the brake rotor with the rubber mallet until it loosens. Most newer vehicles have ABS brakes. There is a wire assembly that is attached to the wheel hub bearing. Disconnect this wire assembly if it is present.
The next thing to do is to remove the spindle nut which has a breaking bar and a spindle nut socket, as well as a washer. Locate the wheel-bearing assembly bolts. These are located behind the knuckle. This can be tricky to remove which sometimes requires a specialized ratchet set to remove. They should have at least three or four of these bolts, which all have to be removed.
Pay careful attention to how the backing plate is installed between the knuckle and the wheel bearing. You may want to take a picture of it so that you know how it goes back on.
Step 5
Once everything is off the next step is to make sure that the surface is clean. Using fine to medium weight sandpaper, sand off any rust and corrosion. After the surface is thoroughly cleaned just replace the backing plate in its original position and then place the new front wheel hub bearing over the backing plate. Make sure that the wheel hub bearings line up properly to the ABS lines (if the vehicle has ABS brakes) and push it all the way in.
Re-install the wheel hub bearing assembly bolts and tighten each one of the bolts with the nuts. Tighten each of them little by little, rotating between each few turns of the socket wrench. This helps to insure uniform tightening and also helps to keep the assembly from shifting. Use the breaking bar to get it as tight as possible.
Attach the washer and spindle nut to the assembly. Make sure that you tighten to proper torque specifications. This should be noted in the owner's manual.
Step 6
Re-attach the brakes and the ABS lines (if necessary). Place the wheel and tire back on and then tighten the lug nuts. Now it is time to test the new installation. You may have to pump the brake pedals first in order to restore the hydraulic pressure in the brake line.
The installation is now complete so just remove the wheel chocks and take the vehicle for a little test drive to make sure that everything is in perfect working order.
Tools and Accessories Needed to Install a Front Wheel Hub Bearing
There are a few tools that can be used during this installation that will make the job much easier. Below are a list of some of the tools that you might want to have on hand before you begin removing and installing a new front wheel hub bearing.
|
Tools |
Uses |
|
Wheel Chock |
These are typically hard rubber, triangle shaped pieces that fit behind or in front of the wheel to keep the vehicle from rolling. |
|
Torque Wrench |
Allows you to precisely tight a nut to the exact torque specifications. If a nut is too loose, then it could vibrate off of the bolt. If the nut is too tight, then it could crack or damage the assembly. |
|
Sandpaper |
In this install you need fine or medium grade sandpaper. Usually 80 - 120 grit sandpaper will do. It is just for removing rust and corrosion and smoothing the surface. |
|
Flat Head Screwdriver |
A large flat screwdriver would be preferred for this situation as it will be used for prying apart the calipers. |
|
Flashlight |
A good flashlight is always needed when installing any car part. Look for one that can be adjusted to give lighting in very specific and focused areas. |
Conclusion
It may seem like there are a lot of steps toward installing a new front wheel hub bearing, but it is actually not that difficult. The key thing to remember is where each of the bolts and parts go. As mentioned, the easiest way to prevent any mistakes is to take pictures along the way so that you know how everything goes back together. You will probably spend more time loosening and tightening nuts than actually installing. After the project is completed, do not forget to test everything out in a safe area before going out on the open road.


